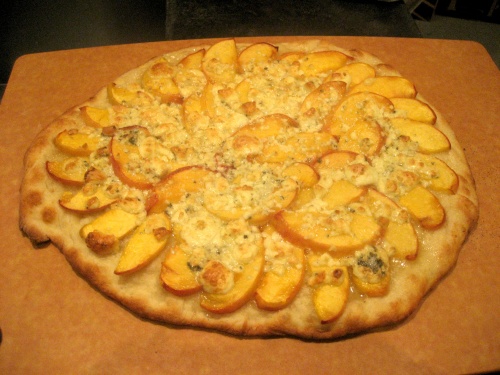
 Hey folks. The Pizza Class at Hollander’s went great. Here is a picture of a Peach and Blue Cheese Pizza that I featured in the hand out recipes.
This post is about how I make Pizza at home. This huge, step by step post may look a little intimidating, but pizza making is pretty simple. Make the dough, let it rise, shape the dough, add toppings, slide it on to a baking stone and bake. That is it.
Pizza Dough Recipe: Makes three medium size Pizzas
4-4 1/2 cups High Gluten or Bread Flour (22-26 ounces)
1 3/4 cups of cold water
2 1/4 teaspoons of SAF yeast or instant yeast
1 1/2 teaspoons of salt
2 Tablespoons Olive Oil
1 Tablespoon Honey, white or brown sugar (optional)
Semolina flour for dusting
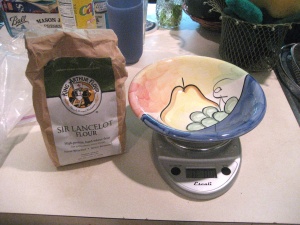
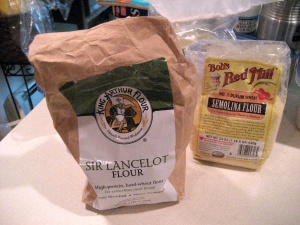
Weigh out the flour with a baker’s scale: I used King Arthur: Sir Lancelot High Gluten Flour
Measure out the yeast and salt: I use SAF Yeast which works a low temps, so you do not have to activate the yeast before hand, which means it can be added directly to dry ingredients.
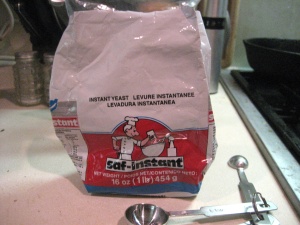
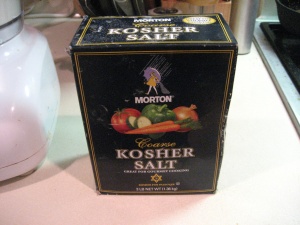
Add the flour, salt and yeast to a food processor: Only use a 11 cup capacity heavy duty food processor. I use a food processor to mix and knead the dough. If you have a standing mixer, mix the dry and wet ingredients with a paddle attachment, then knead with the dough hook for 3 minutes on medium, then 3-5 minutes on high. I do not suggest kneading high gluten flour dough by hand. It takes forever, and will tired you out. I use a food processor because that is what I have at home.
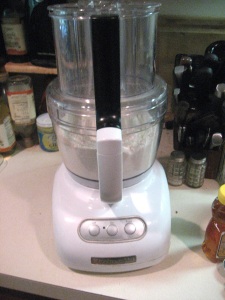
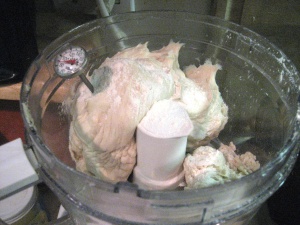
With the processor running, add 1 cup of water, the olive oil, and the honey. It will start to come together. Slowly add the rest of the water. Process the dough for a count of 30 seconds. The dough is pretty heavy so you might need to hold down your food processor, or standing mixer for that matter. The picture below shows a watery, mushy dough, which was mixed for 30 seconds that needs to be processed more.
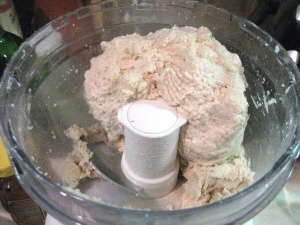
The food processor speed and blade can warm up the dough, so I like to measure the dough temperature with an instant read thermometer after 30 seconds. Using cold water will help prevent the dough from getting too hot, but I like to make sure. If the dough is getting too hot, around 95-100 degrees, let it cool dough in the refrigerator some before processing more.
If using bread flour, 30 seconds should be enough to work the gluten and create a smooth dough. You can process bread flour dough for another 30 seconds to work the gluten more. The dough below has high gluten flour, which needs more processing. I processed it for 3o second counts up to 2 minutes total to create a smooth, well gluten developed dough.
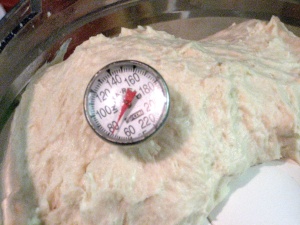
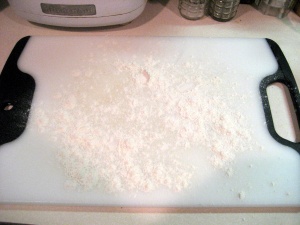
Dump out the dough on a floured surface to prevent sticking. I add some flour in the food processor so when I pull it out with my hands, the dough does not stick to them. It will be a moist dough.
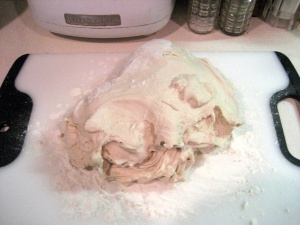
Roll the dough out into a smooth ball. Add a little olive oil to a large bowl, and roll the dough ball in the olive oil so it is lightly coated.
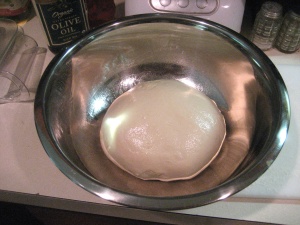
Cover the bowl tight with plastic, and cover with a towel. Let the dough rise for two hours until it has doubled in size.
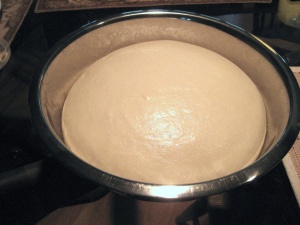
Flour your hand then punch down the dough with your fist.
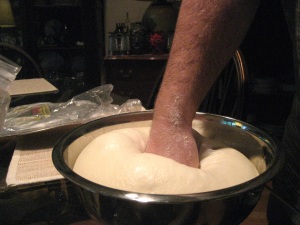
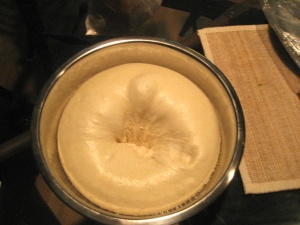
Degas the dough by gently bringing the edges of the dough around the bowl together to form a loose ball.
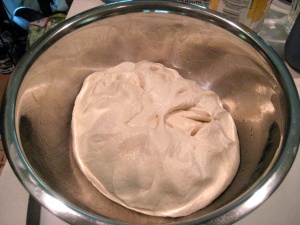
Do Not Overwork the Dough. It will make the dough tough and hard to shape. The key here is to barely work the dough.
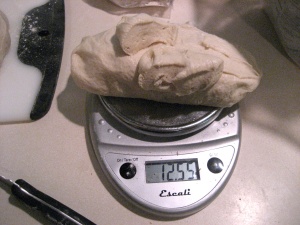
At this point you will have a soft dough. Gently dump out the ball onto a lightly floured surface. Using a knife while still being gentle with your dough, slice off 1/3 of the dough and measure it on a bakers scale. I should come to 12 to 12.5 ounces. If it weighs more slice some off. If it weighs less, slice a little more dough off the rest of the dough and add more dough until you have 12.5 ounces. Weigh the rest until you have three portions of dough about the same size.
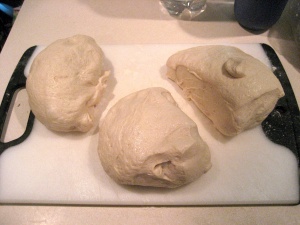
At this point, cover the dough with a damp towel and let the dough rest for 10-30 minutes before shaping.
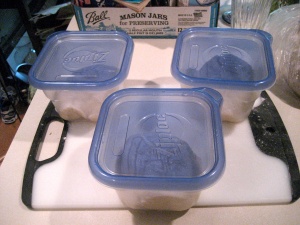
Method Two: After mixing the dough in the food processor, Dump the dough out and a flour surface. Weigh out the dough into three equal pieces, then place in a plastic/glass contain or zip top bag brushed with olive oil, and proof in the refrigerator overnight, up to two days. The dough can also be frozen for several months.
The refrigerator proofing method slows down yeast development, which allows the development of flavor similar to sour dough to form. The result is a tastier, more complex tasting finished crust. That is why a usually refrigerate my dough overnight for my pizza, but in a pinch, I proof for 2 hours, let the dough rest and make it the same day.
Shaping the dough: Be Gentle
Which ever method you are using, the key is to be gentle and not over work your dough.
What I mean by gentle is that one: Gently flopping out the dough on a heavy floured surface and working it as little as possible before shaping.
And two: If the dough is tough and stretches back like a rubber band when you are shaping it, do not not force it, which will make the dough rip. Cover with a towel and let the dough rest for 5-10 minutes before continuing to shape.
Method one: letting the dough rise for two hours, pushing down, measure into portions then rest 10-30 minutes before shaping
Method two: refrigerating the dough for 12-48 hours then taking it out two hour before shaping at room temp.
Method three: freezing then taking out the dough in the morning to shape at dinner time.
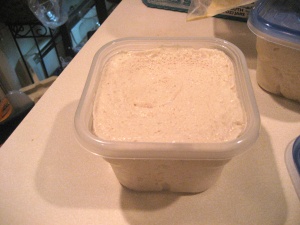
This is a picture of Dough from the frig after 1-2 hours, using method two. It has risen even with the cold of the refrigerator.
Flour and semolina flour for dusting
Gently pull the dough from the sides of the container if it sticks and dump it on a well floured surface. Generously flour the top of the dough too.
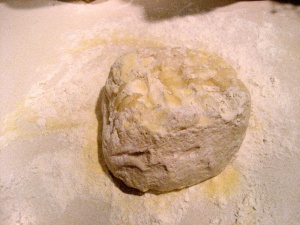
Push the dough down to form a flat round shape. Don’t worry if it is not perfectly round. Flip it over and flatten some more. If it stick to your surface, add more of both flours. At this point your dough is pretty thick.
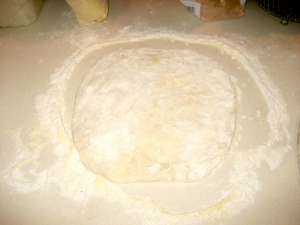
With well floured hands, grab a side of the dough and pull out a few inches. Spin the dough to pull add sides. If the dough pulls back a lot like a rubber band, cover with a towel and wait a few minutes before stretching out more.
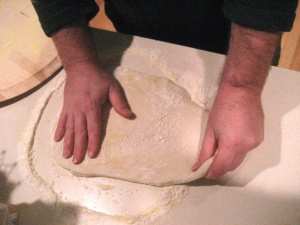
Stretching gets the dough you most of the way there. Working from the top, stretch out the dough flat on the surface with both hands on the dough.
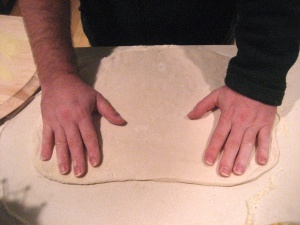
A word about tossing your dough:
I never toss, throw, spin, flip, etc my dough to shape it. Too much ripped dough and dough on the flour has cured me of my desire to toss my dough. I find shaping the dough on a flat surface to work fine.
Make sure you generously dust your pizza peel with semolina flour. Flop your dough onto the peel.
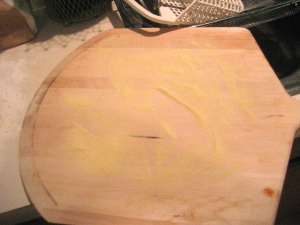
Flop your shaped dough onto a pizza peel. Shake the peel slightly to make sure the dough slides smoothly off the peel. If it sticks, add more semolina flour. The last thing you want is for your pizza to stick with toppings while trying to slide it in the oven.
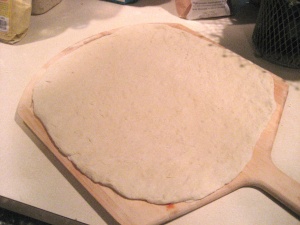
I like to brush olive oil around the edge of the dough which makes for a crispy outer crust, but this step is optional.
A word about toppings:
I usually make my pizza plain: sauce, and cheese pizza. As soon as toppings are put on, a line is drawn, which defines your pizza preference, which is fine as long as you can make a pizza with the topping version of the lowest common denominator. Plain cheese, or pepperoni for meat eaters seems work for everyone.
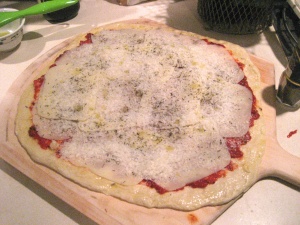
I have recently been making dessert pizza with fruit like peaches with sugar, and blue cheese, and an apple cinnamon pizza with sugar, melted butter and feta cheese. The point here is to play. I like to use mozzarella cheese slices, sliced from the deli counter. I found it easier to place on the pizza and the cheese comes out more even.
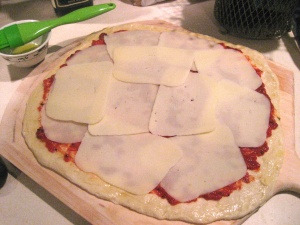
Parm, dried thyme and olive oil on top
Baking your Pizza:
Take all of the oven racks out except for the bottom. Place your baking stone on the rack. Set your oven for 500-515, as hot as it will go. Preheat the stone for 30-60 minutes before baking your pizza.
Getting you pizza onto your baking stone:
It takes a little practice getting the pizza on the stone. When placing the pizza on the stone, place your peel over the stone about 3/4 from the edge. Shake the peel slightly so the far end of the pizza slides onto the far end of the stone. Then in one motion slide the rest of the pizza onto the stone.
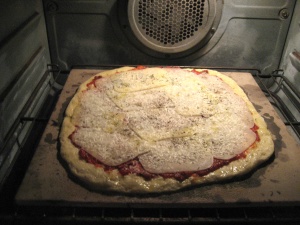
Bake the pizza for 7-12 minutes. It varies depending on the heat of your oven.
The finished Pizza is shown in the oven on a pizza stone.
Getting the pizza out of the oven:
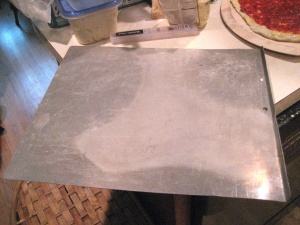
I usually have another pizza on my peel, so don’t use it to take out my pizza. I like to use a metal, rimless baking sheet. It is perfect size for taking out a pizza.
After 7-12 minutes, Pizza is Ready!!!
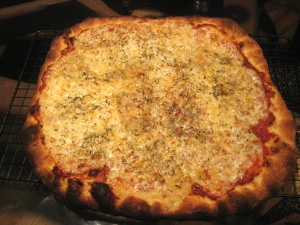
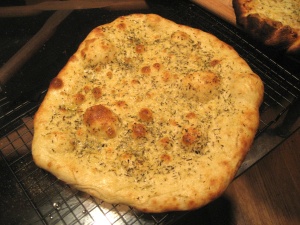
And here is pizza bread with olive oil, parm and herbs
